


Intaglio workshop at The Biscuit Factory Gallery
I set off at 6.00am on Saturday 20th October 2018 to deliver paintings and prints to a gallery in St. Abbs, Scotland. It was lovely to catch up with the owners Jenny and Chris before arriving at the home of Sally and Nigel Leighton in nearby Coldingham. Nigel used to rent the studio next door to my studio at FaMAS in Greater Manchester before he and Sally relocated to the village of Coldingham in the Scottish Borders. It was great to relax with good friends before heading for The Biscuit Factory Gallery in Newcastle-upon-Tyne on Sunday where Nigel and I were to deliver a printmaking workshop focusing on the use of “dry-point”.
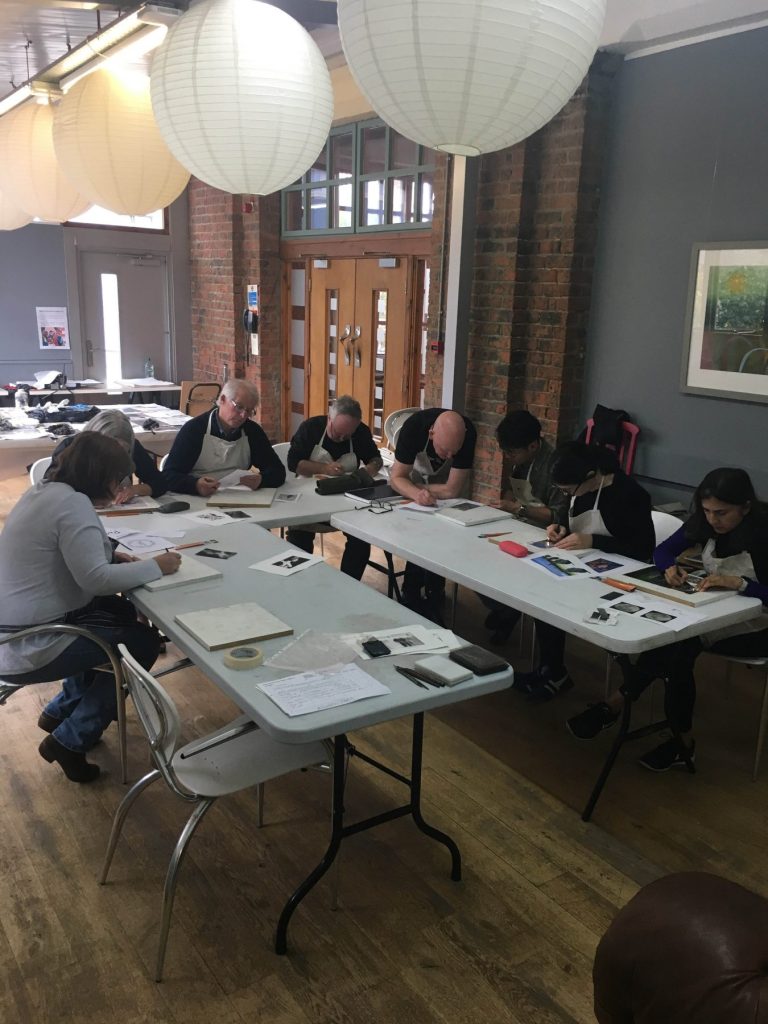
We arrived in plenty of time to set up our workshop and to enjoy the hospitality of The Biscuit Factory before our customers arrived. Of the eight people attending the workshop only one had done any dry-point printmaking prior to Sunday’s workshop but everyone greeted the techniques with enthusiasm and skill. What a perfect class! Nigel and I were very fortunate that everyone was so attentive for there is so much to remember when printmaking. Our customers were hard working too, for to produce a finished dry-point print inside two hours with little or no experience is only achievable if one is prepared to apply oneself. All were open to experiment with new skills with some producing a final print that incorporated both dry-point and mono-print techniques.
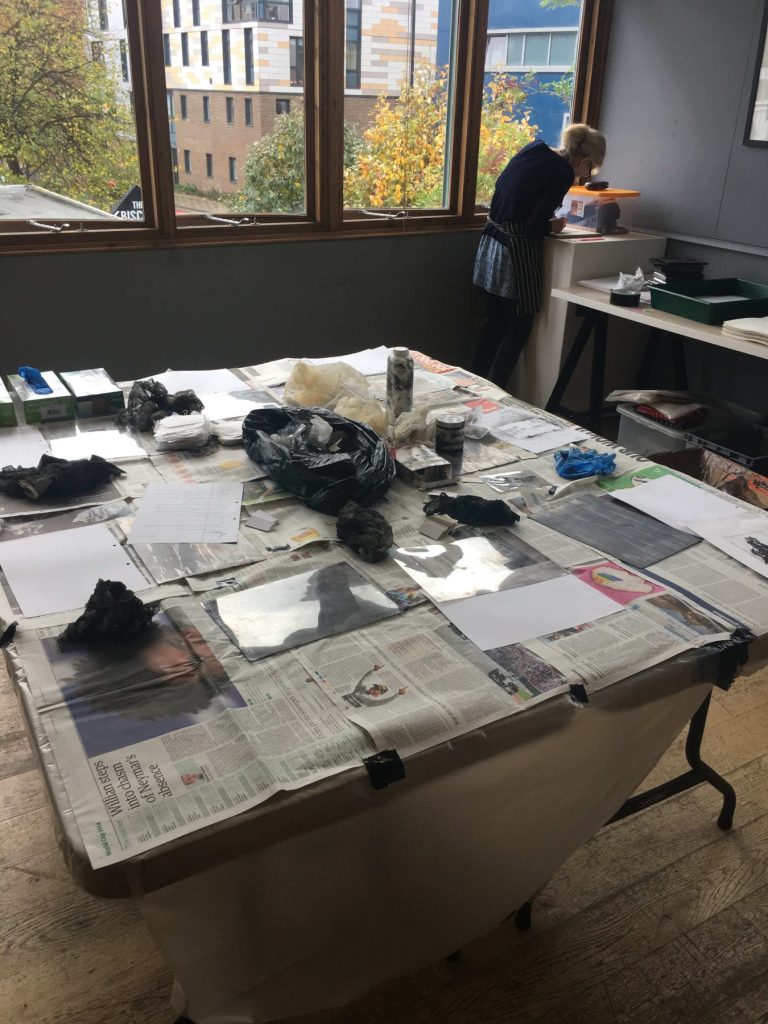
This is the drawing table or what I like to call the “clean area”. This is where the plates are prepared for printing. By inscribing into the surface of the plate a groove is produced. In an etching (also an intaglio form of printmaking) the groove is produced by eroding the plate with nitric acid but with dry-point the groove is produced manually. The deeper the groove the more ink it can take and the more ink it can take the darker the tone will be on the final print.

The above photograph shows the artist scratching into the plate with an engineer’s scriber. Although I own a number of artist quality dry-point tools, my preferred tool is an engineer’s scriber. It has a long gradual taper which I like for detailed work and the handle is knurled providing excellent grip. The plate is transparent polypropylene sheet allowing the source material to be traced onto the plate. Polypropylene is also relatively soft allowing for slightly greater ease in working the plate than similar materials such as acrylic and polycarbonate sheet.
After the image has been inscribed into the plate it is time to “ink-up” the plate and we move onto the inking up table or what I like to call the “dirty area”.
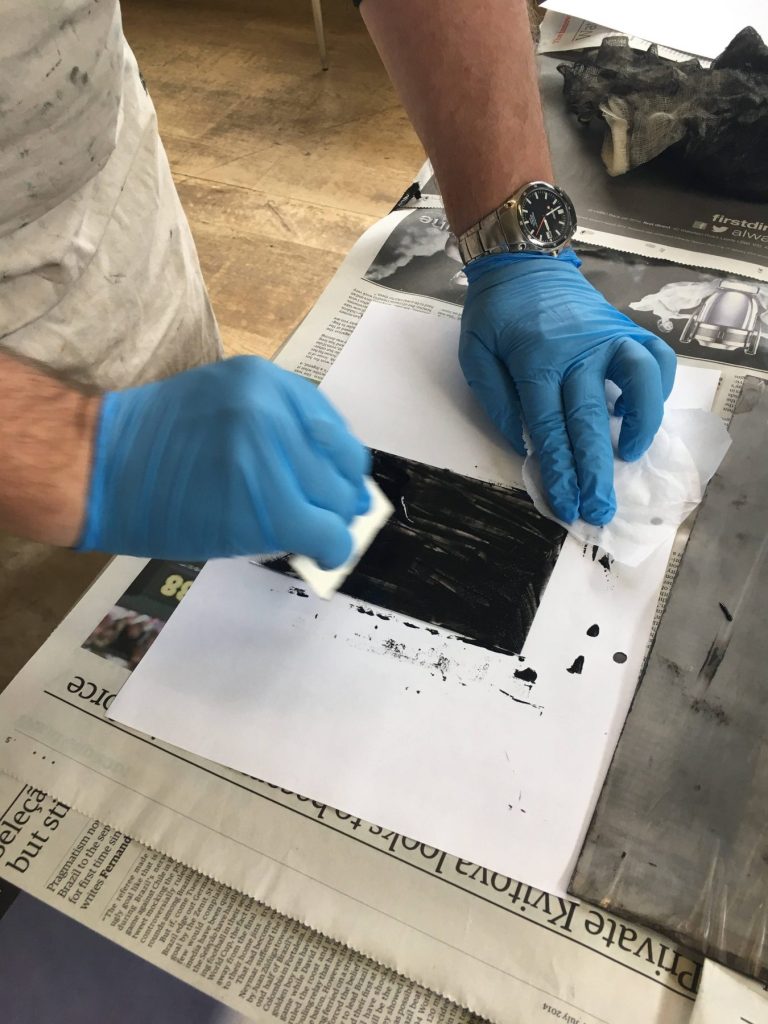
This photograph shows ink (intaglio ink) being forced into the grooves with a piece of stiff card. We need all the grooves filled with ink and once this has been done the next stage is to begin to remove surplus ink from the surface of the plate by scraping the card across the plate and then to continue to remove ink from the surface with scrim..see below for next photograph..
Using scrim to gently remove ink from the surface but leaving ink in the grooves the image is slowly revealed and it is usually at this stage that one begins to get an idea of what the final print might look like.

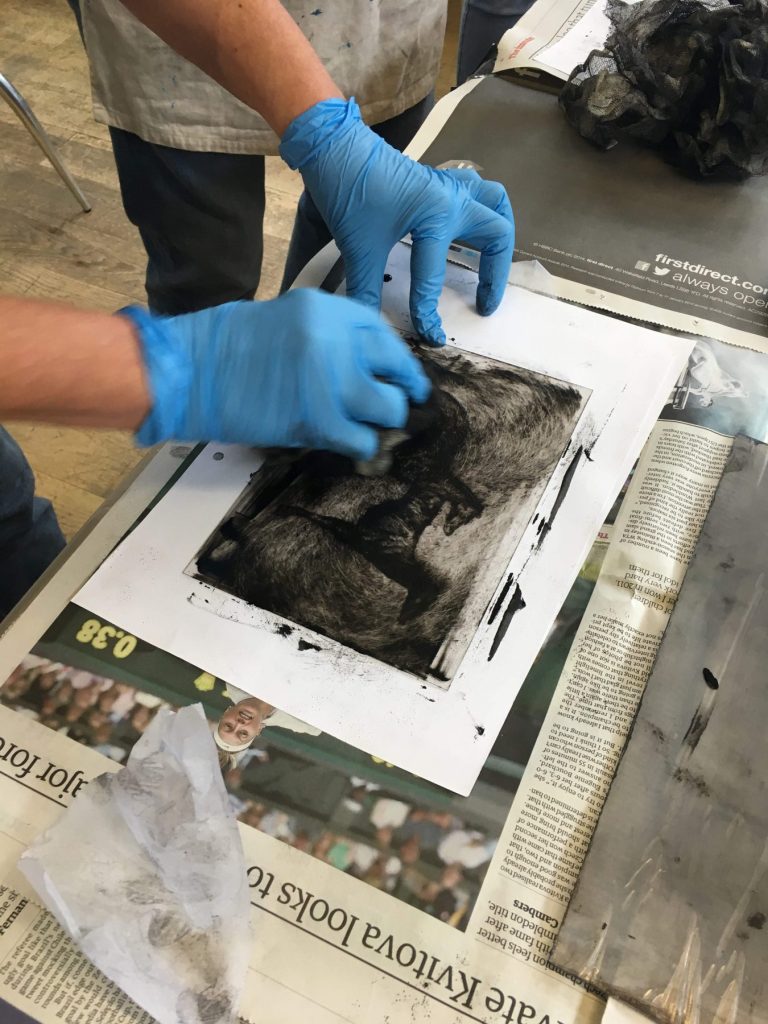
Here’s another plate being wiped and we can clearly see the image of a hare in a landscape. The next step will be to gently wipe the plate with tissue paper and in some cases talcum powder was used to remove residual ink to provide a really light highlight.

When the plate has been wiped sufficiently it is placed face up on the bed of an intaglio press. The press consists of two steel precision ground rollers and a bed made of either a composite material (as in this press) or more traditionally, steel.

The above image shows a piece of “Bread and Butter” paper that has been soaking for over twenty minutes in water being placed into the “wet-blotter” to have the excess moisture removed. The paper is soaked in water to make it soft and pliable enough to be forced under pressure into the grooves on the plate. The paper will lift the ink from the grooves and provide us with our print….

The paper is laid on top of the plate with both between two sheets of tissue paper and here we can see one of the artists turning the handles of the press to transport the bed (on which the plate rests) between the rollers.

After the plate has passed through the press we can peel the paper from the plate to see the results of our creative efforts! If we want more than one print the inking and wiping process starts again for each one of our edition.
Everyone taking part in Sunday’s workshop produced a successful print with some returning to the drawing table to re-work their plate and some chose to combine dry-point with mono-print techniques where creative wiping proved to be very successful.
Huge, HUGE thanks to the participants whose ability and engaging enthusiasm ensured excellent results and also a MASSIVE thank you to the staff at The Biscuit Factory Gallery, specifically, Megan for inviting me and for arranging the workshop, Phil for preparing the room, Jane and Sally along with Cafe staff for their hospitality and finally a big thanks to my friend Nigel Leighton for his help throughout the workshop.